To begin with I decided to use the face that i created in the last project that we did in virtual environments. I used the UV mapping technique described in the tutorials we used and applied a skin material to the face. I then also adjusted the face, especially around the eyes to accomadate eye balls.
I created a simple hat and then placed this on the head of my model. These were the results of the improvement to my face model.
For more details on how the face was created, please follow the link, which will take you to my other blog for creating the my face in 3DS Max:
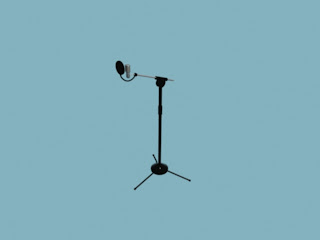
Also in this section of the room I created a mic stand. This wa made using mostly the cyclinder tool. The only new technique used in this object was to use the loft tool to make the tube that connected the mic shield to the stand.
The music stand was created by again using the cyclinder tool. The holes in the stand were created using the boolean tool.
Finally the sound proofing material was made by simply creating a spline in a zig zag shape and then extruding this up.


No comments:
Post a Comment